You cannot set a target size in this compressor, because there is no field for 100 KB or any other number. What you control is quality and dimensions. Lower the quality slider, watch the reported output size, and repeat until the file lands at or under 100 KB.
Two sliders do the work. Quality runs from 1 to 100 and starts at 75 for WebP, JPEG and AVIF, and it is hidden when PNG is selected because PNG is handled by a lossless optimizer instead. Resize runs from 10 percent to 100 percent and starts at the original dimensions. Every adjustment re-runs the compression after a short pause, and the result panel reports the original size, the compressed size, the final dimensions and the percentage saved, which can be negative if the new file is bigger. Because the number you need is printed after each run, the workflow is a short loop rather than a guess.
Most pages about reaching 100 KB describe a button this tool does not have. They promise an exact result, then hand you a preset you did not choose. This article does the opposite: it explains what the two sliders change, how to read the size the tool reports after each run, and what to do when the number refuses to go low enough.
Image Compressor
Drag the quality and resize sliders, read the exact output size, and compare before and after. Nothing is uploaded.
Can you compress an image to exactly 100 KB?
Not in one click, and not by typing a number. This compressor has no target size input, so there is nothing to type 100 into. What it has instead is a fast loop: change a slider, let it re-encode, read the size it reports, then change the slider again. That loop is how you approach a specific figure.
Worth knowing before you chase the number: "100 KB" is not always the same quantity. Many upload forms mean 100 kilobytes in decimal terms, which is 100,000 bytes, while others mean 100 kibibytes, which is 102,400 bytes. Aim a little under the stated limit, because a form that rejects anything over 100 KB will reject 100.4 KB just as firmly as 400 KB. A quality value chosen in advance cannot guarantee a byte count either, which is why the reported size is what you act on.
What you actually control
The settings panel offers four inputs. Two change the file size, one changes what the output can contain, and one only changes how much effort the encoder spends.
| Control | Range and default | What it changes |
|---|---|---|
| Output format | WebP (default), JPEG, PNG, AVIF | Which encoder writes the file, and whether compression can be lossy |
| Quality slider | 1 to 100, default 75 | The lossy trade between visual fidelity and size. Applies to WebP, JPEG and AVIF, and is hidden for PNG |
| Resize slider | 10 percent to 100 percent, default 100 percent | The pixel dimensions of the output, and with them the amount of data to store |
| PNG optimization | Fast, Balanced (default), Max | How hard the lossless PNG optimizer tries. Pixels stay identical |
The drop zone accepts several files at once, so you can tune the settings on one image and then use "Recompress selected" to apply them to the whole list.
How to shrink an image toward a target size
Work through these steps in order. The first three are usually enough, and only reach for the resize slider when the quality route stalls.
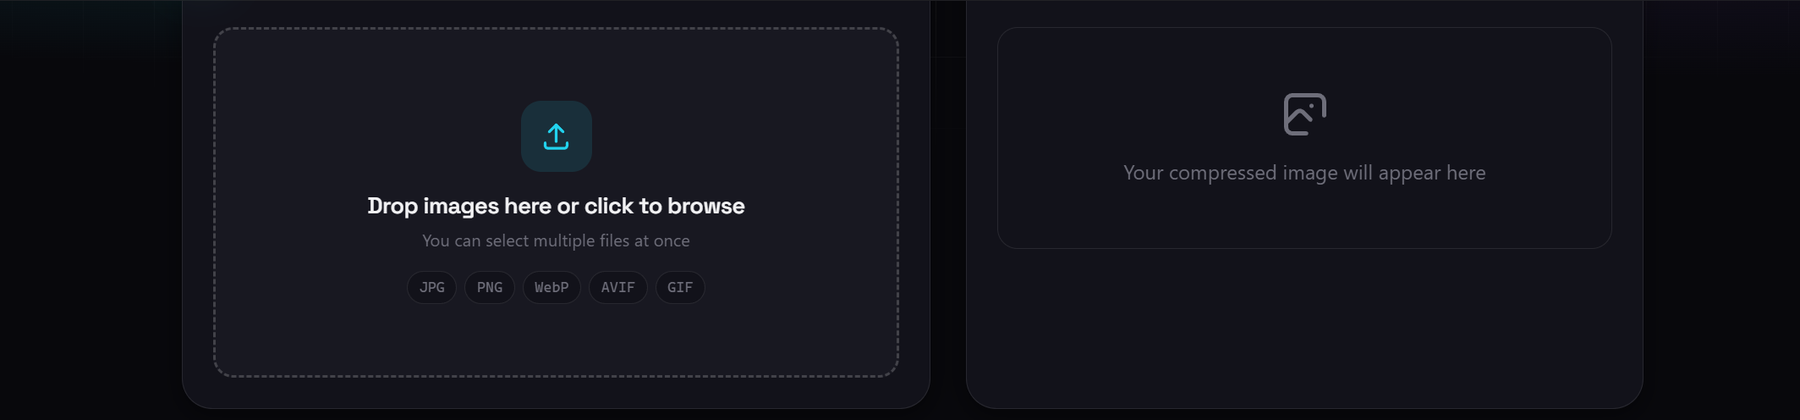
- Add your image. Drop it onto the compressor or click to browse, and select as many files as you need. Each file is read from your disk into the page, so it is never uploaded, and it is compressed immediately with the current settings: WebP at quality 75, original dimensions.
- Read the reported size. The result panel shows the original size, the compressed size, the final dimensions and a saved percentage. If the compressed size is already at or under your target, you are done. If it is not, that panel tells you what to change.
- Lower the quality slider. Move it down in visible steps rather than one unit at a time, because the size response is not linear. After a short pause the tool re-encodes and the reported size updates. This costs the least, because nothing is overwritten and you can raise the slider again at any time.
- Lower the resize slider if quality stalls. At some point further quality cuts only buy blur without much size reduction, and fewer pixels then means less data in every format. Remember this is the one adjustment you cannot undo after download.
- Check the comparison before you commit. A draggable before and after slider and a full screen viewer let you judge whether the image is still readable at the size you are posting it. Text and fine patterns show damage first.
- Download, or recompress the batch. The download button saves the current image. If you loaded several files, set the sliders once and press "Recompress selected".
Which output format to choose
Format has more influence on size than most people expect, because it decides whether the encoder may discard information. Only three of the four output formats respond to the quality slider.
| Format | How it compresses | Transparency | Best for |
|---|---|---|---|
| WebP (default) | Lossy, controlled by the quality slider | Preserved | The all round choice for photos and web images |
| JPEG | Lossy, controlled by the quality slider | Not supported. Transparent areas are filled with white | Maximum compatibility with older software and upload forms |
| PNG | Lossless. The quality slider is hidden and a PNG optimizer runs instead | Preserved | Logos, icons, screenshots with text and flat graphics |
| AVIF | Lossy, controlled by the quality slider | Preserved | Smallest files when encoding time does not matter |
Why the PNG row behaves differently
Selecting PNG switches the tool to a lossless path, so the quality slider disappears and the image is recompressed without changing a single pixel. The tool's own documentation states that this can make a PNG up to 35 percent smaller, which is a real gain for logos and screenshots and a dead end for photographs, because a photo stored as PNG carries far more color information than 100 KB can hold.
One consequence of the JPEG path is easy to miss. JPEG has no transparency, so transparent regions in the source are filled with white before encoding. If your image is a logo on a transparent background, choose WebP, PNG or AVIF instead.
What this compressor cannot do
- It has no target size field. You cannot enter 100 KB and let the tool solve for it; reaching a figure means adjusting quality and dimensions and reading the reported size until it fits. Tools that advertise an exact target iterate internally, encoding repeatedly until the result passes under the limit.
- PNG ignores the quality slider, because the PNG path is lossless by design. That also means a photo saved as PNG usually cannot reach 100 KB through this route, no matter how far you move settings that do not apply to it.
- Small targets usually require resizing. For a photograph at 20 KB, lowering quality alone eventually produces an image that is both large in dimensions and ugly in detail. Cutting the dimensions is what gets you there, and that permanently reduces the resolution of the exported file.
- Re-encoding can make a file bigger. Small screenshots, logos and flat graphics are already stored efficiently, so a lossy re-encode can come out larger. When the output format matches the input and no resize is applied, the tool keeps your original whenever the new version is not smaller. After a format conversion, it warns that the file got larger and points you at the quality slider or the original format.
- Animated GIFs are exported as a single frame. The tool reads the image once and encodes one still picture, so motion is lost. If the animation is the point, this is not the right tool.
- It cannot tell you the exact setting in advance. There is no way to ask which quality value will produce a given size, because that depends on your specific image. The answer only exists after a run, which is why the reported size is the number to watch.
When 100 KB is the wrong target
The size limit usually comes from a form, a job portal or a messaging app. Some images carry more detail than 100 KB can hold, and forcing them under it produces a file that no longer does its job.
Two cases are worth separating. A logo, an icon or a screenshot with large flat areas converts very well, and both the lossless PNG route and the lossy WebP route reach small sizes while keeping edges clean. A photograph with foliage, fabric texture or a busy background behaves the opposite way, because that detail is exactly what lossy encoders discard first. If a photo has to fit 100 KB, you are choosing between losing resolution, losing sharpness or losing fidelity, and deciding which matters least is more useful than chasing a byte count.
If a form demands both 100 KB and a large pixel size, one of those requirements has to bend. Reducing dimensions usually keeps the image recognizable, because a smaller clean image reads better than a larger smeared one. If the image is being posted rather than submitted to a form, check whether the platform enforces the limit you assumed, because many chat apps accept much larger files now.
Image Converter
Not sure the format is helping? Convert between JPG, PNG, WebP and AVIF before you tune the quality slider.
Compressing in the browser instead of uploading
The obvious alternative is a website that takes your image and returns a smaller one. That works for a picture you do not mind handing over, and it is a poor choice for the images people actually need to shrink: ID photos, signed forms, work screenshots or a photo of a document.
| Aihangsoft | Upload-based compressor | |
|---|---|---|
| Where the image goes | Stays in the browser tab | Sent to their servers |
| Limits | None beyond your own memory | Often capped per file or per day |
| Account | Not needed | Sometimes required, sometimes pays for larger files |
| Watermark | None | Common on free tiers |
| Setting control | Format, quality and dimensions | Usually one preset or one slider |
The trade is simple: a server with dedicated hardware encodes faster than a laptop, and browser memory sets a ceiling on how large an image you can open. For the files that 100 KB limits usually apply to, forms and chat uploads rather than posters, it is worth taking.