You can take a product photo from camera to listing in five steps: shoot or pick the original, remove the background, compress the file, add a watermark, then resize and export. Four of the five run entirely in your browser, and only background removal uploads the image.
The order matters more than any single setting. Background removal sits early because it is the only step that changes the silhouette of the product, so everything after it works on the final shape. Compression follows, because a fresh cutout is the heaviest file in the pipeline, and the watermark comes after compression so the mark is drawn onto the version you actually publish.
There are limits worth knowing before you start. Background removal costs one Cloud AI credit per image, and a guest gets a single run a day. Compression cannot be told to hit an exact kilobyte figure. Nothing here calibrates colour, automates a catalogue, or posts to a marketplace for you.
Most product photo advice stops at the camera. This article covers the other half, the file: the sequence that turns a phone photo into something a marketplace accepts without shrinking or rejecting it.
AI Background Remover
One-click cutout with General, People and Products scenes. This is the one step in the workflow that uploads your file.
The five steps, in order
The sequence follows one rule: do the edits that change the picture before the edits that only change the file. Cropping, cutting out and stamping a watermark alter what the buyer sees; compressing and resizing alter how the file is stored.
1. Shoot, or pick the largest original you have
Start from the biggest file the camera produced and keep it as your master, because every step that follows discards pixels and none of it is reversible. Keep the source large for one specific reason: the cutout model reads the fine fringe where a strap meets the backdrop, and that fringe is exactly what early compression smooths away. If your phone saves HEIC, export a JPEG copy first.
2. Remove the background, the only step that uploads
The cutout comes first among the edits because it is the only one that changes the shape of the subject, and because it is metered, so you want it run once on a photo you have already decided to keep.
The tool takes PNG, JPG, WebP, TIFF and BMP files of up to 30 MB. General finds the main subject in most photos, People is tuned for portraits and hair, and Products for goods; only the last two unlock the outline, from 1 px to 100 px, and the trim that crops away the transparent margin. PNG output keeps transparency and is the default, WebP keeps it and is smaller, and JPEG cannot store transparency, so the removed area comes out black.
This is a Cloud AI tool rather than one of the 45 browser tools, so the file is uploaded to our server, forwarded to Volcengine AI MediaKit, and the result is deleted 30 minutes after processing. One removal costs one credit; a guest gets one run a day, a free account five credits a day, and Pro 1,500 a month. The breakdown of the free allowance covers which images are reasonable to upload.
3. Compress the cutout before you go further
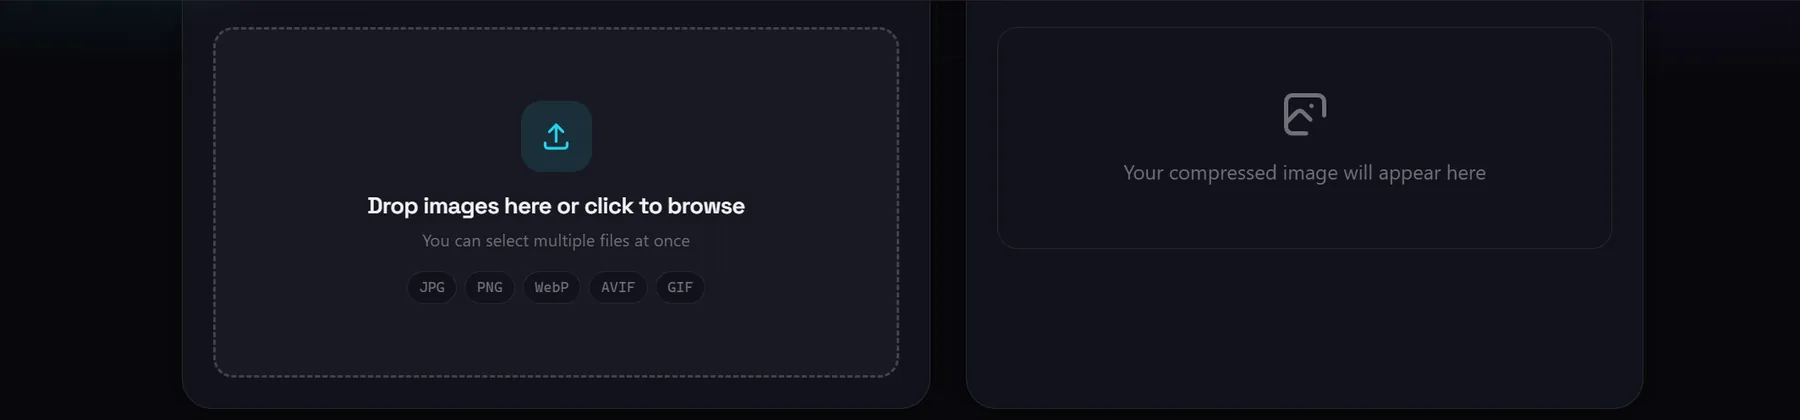
A cutout is the heaviest file the workflow produces, because PNG is lossless and transparency costs bytes. The Image Compressor runs locally with no upload and no file size limit: it reads JPG, PNG, WebP, AVIF and GIF, outputs WebP, JPEG, PNG or AVIF, defaults to WebP, and its quality slider starts at 75 percent. Leave the separate resize slider at 100 percent, because the final size is set in step five and shrinking twice only loses detail.
Image Compressor
Shrink the cutout in your browser with quality and resize sliders and a live size readout. PNG can be reprocessed losslessly with OxiPNG.
Two choices decide whether this step helps. If the cutout must stay transparent, pick WebP or PNG, never JPEG. And if the tool reports that a file came out larger, believe it: with the format unchanged and nothing resized, it keeps your original rather than shipping a heavier file. Choosing PNG switches it to a lossless OxiPNG recompression, described on the tool page as up to 35 percent smaller with no change to a pixel. What you cannot do is name a target size, because quality and file size are not related in a straight line; the guide to hitting a target size honestly covers how to iterate when a platform has a hard cap.
4. Watermark the photo before it goes public
The watermark comes after compression because it is a visible stamp on the finished picture, applied at the original resolution, and it survives step five undistorted because the mark is sized as a percentage of the width rather than a fixed number of pixels. The Image Watermark tool is local and takes up to 20 images at a time. You type up to 60 characters and pick one of six placements, including a tiled mode. Size runs from 2 to 20 percent of the width, opacity from 10 to 100 percent, rotation from minus 45 to plus 45 degrees, and an optional outline picks its own contrasting colour. The export keeps the full resolution of the source, and the watermarking guide covers how much opacity a corner mark needs.
One warning belongs here rather than in a footnote. eBay's photo guidance states that watermarks of any type, including ownership attributions, are not allowed on listing photos, and that added text can keep an image out of third party search results. Where a marketplace forbids a mark, skip this step.
5. Resize and export at the size the platform asks for
This is last because it fixes the final pixel dimensions, so it should run after every edit that changes the content. For a straight resize, the Image Resizer takes a single image, lets you type an exact width and height with an optional ratio lock, offers jumps to 25, 50, 75, 100 or 200 percent, and exports as JPG, PNG or WebP with a quality slider starting at 90 percent. Keep a cutout on PNG or WebP, because JPG has no alpha channel and transparency becomes white.
Image Resizer
Set an exact width and height, lock the ratio, and export as JPG, PNG or WebP. One image at a time, on your device.
When the target is a shape rather than a size, the Image Cropper does both in one pass. Lock the frame to Free, 1:1, 4:3, 3:2, 16:9 or 9:16, rotate or flip the image if it came out sideways, then type an optional output width between 16 and 10,000 pixels. That field is what makes it the better tool for a square catalogue: you crop and set the export width without a second trip through the resizer. Output can be PNG, JPEG or WebP, and the batch holds up to 30 images.
What the marketplaces actually ask for
Where a platform publishes a specification, follow it rather than a general article. The figures below come from the platforms' own help pages, checked 2026-10-01, and can change without notice.
| eBay | Shopify | Etsy | |
|---|---|---|---|
| Size guidance | Minimum 500 x 500 px, recommended at least 1600 x 1600 px | 2048 x 2048 px for square product images | Not verified |
| Upper limit | Per image upload cap listed inconsistently on its own pages, 7 MB in one place and 12 MB in another | Under 20 MB, up to 5000 x 5000 px or 25 megapixels | Not verified |
| Added text and watermarks | Not allowed on listing photos | Not addressed in the product media help page | Not verified |
Two things stand out. Shopify states that you do not need to compress images before uploading, because its CDN re-encodes and serves responsive versions automatically, so compression matters most on platforms with a hard upload cap. And the Etsy column is empty on purpose: we could not load Etsy's current specification from its own help centre on 2026-10-01, so we marked it unverified rather than repeat a figure we cannot stand behind.
Across all three the useful rules are qualitative. A square thumbnail crop is common, so a product that fills the frame edge to edge loses its top and bottom. A zoom view needs a large source, so an upscaled small image looks soft. The pixel figures above are numbers to aim at, not hard technical requirements.
A settings sheet for one listing photo
These are starting points rather than measured results.
| Step | Tool | Setting that matters |
|---|---|---|
| 2. Cutout | Background Remover | Products scene, trim to subject, PNG output. Uploads, costs one credit |
| 3. Compress | Image Compressor | WebP keeps transparency and shrinks the file. Resize slider stays at 100 percent |
| 5. Export | Image Cropper or Image Resizer | Crop to 1:1 and set the output width, or type exact width and height |
What this workflow cannot do
These limits are why the workflow is a series of steps rather than one button.
- The cutout step uploads your file. Step two is not local, unlike the other four. The image goes to our server and on to a third party AI service, and the result is held for 30 minutes.
- The cutout is metered. One credit per removal, one run a day as a guest, five credits a day on a free account, which suits a handful of listings rather than a catalogue of hundreds.
- Compression cannot hit an exact target. There is no field for a required size in kilobytes; you adjust quality and dimensions and read what comes out.
- There is no colour management. Nothing here converts an Adobe RGB photo to sRGB, so a wide gamut image can shift colour after upload.
- There is no pipeline automation. Each step is a separate tool with its own queue: the compressor has no fixed ceiling, the watermark tool takes 20, the cropper 30, and the background remover one, three or ten by plan.
- Nothing is posted to a marketplace, because there is no API connection to Etsy, eBay or Shopify. You download the file and upload it yourself.
- The background is removed, not replaced, so a lifestyle scene has to come from your camera or an editor.
- A bad photo stays a bad photo. No step fixes harsh shadows, a colour cast or soft focus, and good lighting at step one is worth more than every adjustment after it.