Trimming a video online usually means uploading it to a server first. This trimmer works the other way round: the clip is cut inside your browser tab by FFmpeg compiled to WebAssembly, so the file never leaves your device. You set a start and end point and download the result.
The one decision that shapes the result is the trim mode. Precise re-encodes so the cut lands on the exact frame; Fast copies the streams untouched but snaps the cut to the nearest keyframe. Knowing which one you need is the difference between a clean cut and a clip that starts a second early. Everything runs locally and free, with no account, no upload and no watermark. The engine downloads once, about 30 MB, and after that the tool works offline. Long clips are limited by your device memory rather than a server quota.
Trimming sounds like the simplest video edit, and it is the one most often done badly. Server tools make you wait for an upload and a download, and many of them quietly re-encode the whole clip whether you wanted that or not. A local trimmer removes both problems, but it adds a choice you have to understand, because the fast path and the accurate path behave differently at the cut.
Video Trimmer
Set a start and end point on the timeline, pick a mode and download the cut. Nothing is uploaded and nothing is watermarked.
Precise or Fast: the choice that decides the cut
The two modes are not two speeds of the same operation. They are two different operations that both produce a shorter file, and the difference shows up at the cut itself.
Precise is the default. It decodes the clip around your start point and re-encodes the kept part as H.264 video with AAC audio at 128 kbps. Because every frame is rebuilt, the first and last frame of the result are the frames you marked, to the frame. The cost is an encode: it takes longer than a copy, it scales with how much video you keep, and the kept part is no longer the original data.
Fast copies the video and audio streams with no re-encoding at all. Nothing is decoded and nothing is re-compressed, so the kept part is identical to the source and the export can finish in seconds regardless of length. The catch is where the cut can land. Compressed video stores only a few complete frames, called keyframes, and every other frame is described relative to them. A stream copy can only begin on a keyframe, so when you ask to start at an arbitrary moment the cut snaps to the nearest one, and the clip can begin slightly earlier than you marked.
| Precise (default) | Fast | |
|---|---|---|
| What it does | Re-encodes the kept part | Copies the original streams |
| Where the cut lands | Exactly on the frame you set | Snaps to the nearest keyframe |
| Quality of the kept part | Re-encoded, visually close to the source | Identical to the source, nothing re-compressed |
| How long it takes | Longer, and it grows with the kept length | Quick, largely independent of length |
| Best for | Interviews, tutorials, social clips | Long recordings, archiving, quality-critical cuts |
Neither mode is strictly better. Fast preserves quality perfectly but gives up control of the cut, and Precise gives you the cut but spends a generation of encoding to get there. The temptation is to reach for Fast because it is quicker, and that is exactly how people end up with a clip that opens on the wrong frame.
A quick way to decide
Ask whether a viewer would notice the wrong frame at the start or the end. For a screenshot walkthrough or a two minute talking head, a few frames either side are invisible, so Fast is fine. For a clip that opens on a specific beat, a reaction or the first word of a sentence, use Precise. When in doubt, run Fast first and look at the opening frame; if it bothers you, re-run the same range in Precise.
How to trim a video without uploading it
The whole flow happens on your machine and takes three steps.
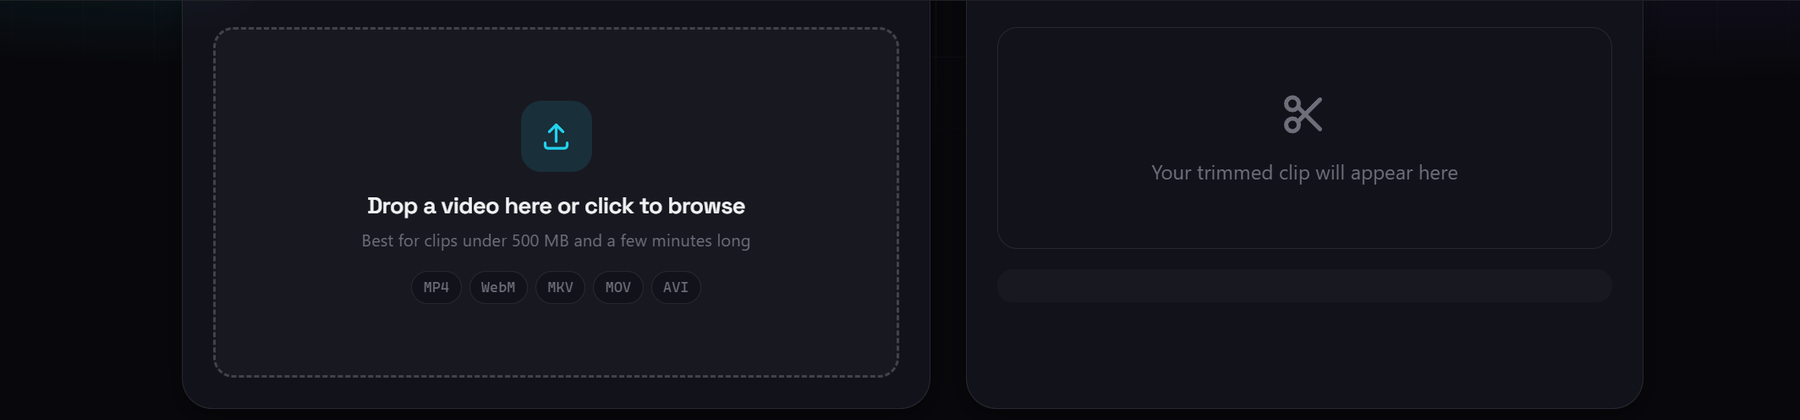
- Add your video. Drop an MP4, WebM, MKV, MOV or AVI file into the drop zone, or click to browse. The clip is read from your disk into the page, not sent anywhere. The first run downloads the FFmpeg engine, about 30 MB, and from then on the tool works offline.
- Set the start and end points. Drag the two sliders, or play the clip and press Set start here and Set end here to mark the current playback position. The panel keeps a running total of what you are keeping, shown as Keeping X of Y, so you know the result length before you export. The two points cannot come closer than 0.2 seconds.
- Choose the mode and export. Pick Precise for an exact cut or Fast for a quick, quality-identical one, then press Trim video. The result panel shows the kept duration and the file size, and you download it as an MP4.
While the export runs, the progress bar reports the stage: the tool loads the engine the first time, then shows whether it is copying streams or re-encoding. A Fast trim of a short clip returns almost immediately, while a Precise trim of a long clip is the one to wait on, because the work happens on your device rather than on a server.
What you get back
Every export is an MP4, in both modes, and both are written with the index at the front of the file. That matters because a player can start showing the clip while it is still loading instead of waiting for the whole download, which is the behaviour you want whether the file goes to a chat, a slide deck or a phone.
- In Precise mode the output is re-encoded to H.264 video with AAC audio, which is the most compatible combination for phones, browsers and social platforms.
- In Fast mode the original streams are copied into the MP4 container unchanged, so the result keeps both the source codecs and the source quality at the same time.
- When a source cannot be copied into MP4 as it is, Fast fails and Precise is the fallback, because it rebuilds the streams instead of copying them.
The accepted inputs are MP4, WebM, MKV, MOV and AVI. A file in a container the browser cannot preview can still be trimmed, because the tool works from the file data rather than from the playback, but the source preview inside the page depends on the browser being able to decode that container.
Cutting out a section in the middle
The most common question about a trimmer is whether it can remove a chunk from the middle and keep both ends. This one cannot do that in a single pass. It keeps one continuous range, so it removes the head, the tail or both, but not an interior section.
The correct workflow is two trims and one join. Trim from the start of the clip to the point where the unwanted section begins and download that part. Then trim from the end of the unwanted section to the end of the clip and download that part too. Open the video merger, add the two files in the right order, and it concatenates them into a single file.
The merger first normalizes the clips so their frame rate, pixel format and audio settings line up, then joins them by copying the already-normalized streams in order. Both halves arrive from the trimmer as MP4, which is exactly what the merger expects, so the pieces fit together without a separate conversion step.
Video Merger
Join the two trimmed halves back into one file. It normalizes the clips first so the cuts line up, and it runs locally too.
What this trimmer cannot do
These are the edges of the tool, and they matter more than the feature list when you are deciding whether it fits your job.
- Precise mode always re-encodes. The cut is exact, but the kept part goes through a fresh encode, so a long clip takes longer and the result is a second generation copy rather than the original data.
- Fast mode trades precision for speed. The cut snaps to the nearest keyframe, so the clip can start slightly earlier than you marked, and a stream copy can fail when the source codecs cannot be placed into an MP4 as they are.
- One continuous range only. There is no way to delete an interior section and keep both ends in a single export; that needs two trims and the video merger.
- The exported cut cannot be recovered. There is no undo for the file you download, so keep the original until you have checked the result.
- It does not change resolution or encoding settings. This is a trimmer, not a compressor, so it will not shrink a file beyond removing the part you cut. Use the video compressor when size is the goal.
- The first run downloads about 30 MB. That is the engine code, cached afterwards, and it is the price of encoding on your machine instead of someone else's.
- Long videos are limited by your device memory. The page suggests keeping files under 500 MB and a few minutes long, and a very large clip may need to be handled in sections.
Why trim locally instead of uploading
An upload-based cutter is a reasonable choice for a clip you do not mind handing over, and it can be faster on a weak device because the encoding happens on someone else's hardware. It is a poor fit for the footage people actually trim, which is often an internal screen share, a customer call, an unreleased build or a private recording.
| Aihangsoft | Upload-based cutter | |
|---|---|---|
| Where the video goes | Stays in the browser tab | Sent to their servers |
| Account | Not needed | Sometimes required |
| Limits | None beyond your own memory | Often a size or daily cap |
| Watermark | Never added | Sometimes added on free tiers |
| Works offline | Yes, after the first load | No |
The trade is raw speed and very large files. A server with real hardware encodes faster than a laptop, and browser memory puts a practical ceiling on how long a clip you can process. For the short cuts a trimmer is normally used for, that trade is usually worth taking, and it removes any question about what happens to the footage after you hand it over.