You can crop an image online without uploading anything. Open the cropper, drag the frame to the part you want, lock a ratio such as 1:1 or 16:9 if you need one, rotate the photo if it is sideways, then download the crop at full resolution.
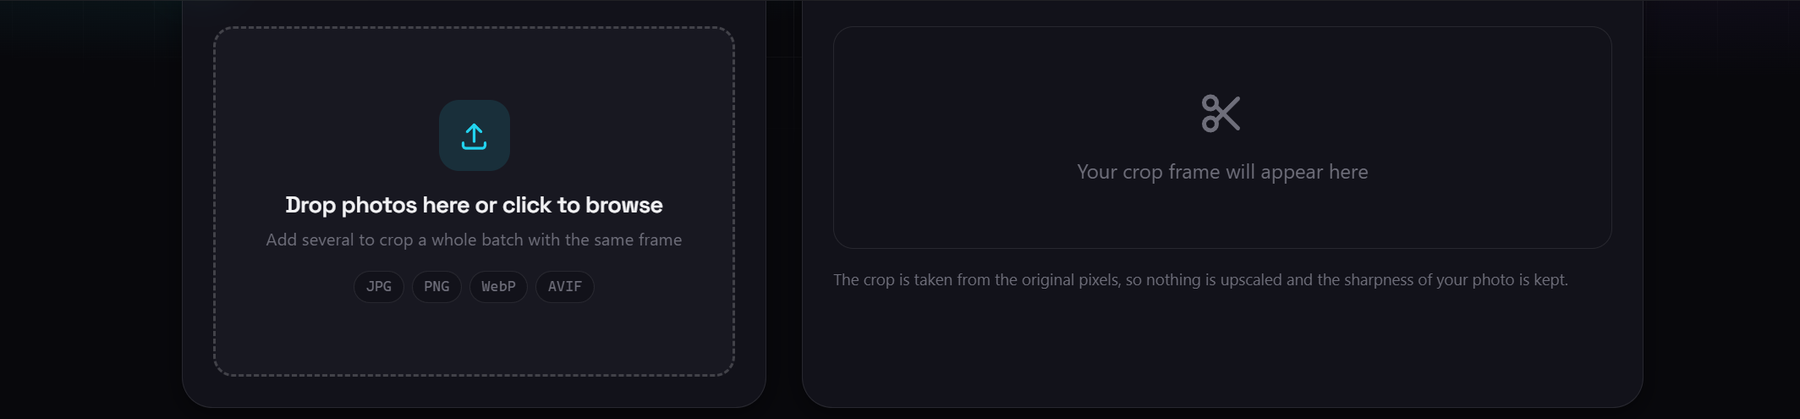
Everything happens in the browser tab, on a canvas, so the photo never leaves your device. The crop is taken from the original pixels, so nothing is upscaled and the sharpness is kept. You can work on one photo or a batch of up to 30, and export as PNG, JPEG or WebP. There is no sign-up, no daily limit and no watermark added by the tool. Free ratios cover the common cases, and a locked ratio cannot drift while you drag the frame. It is free and unlimited, and it works the same on a laptop, a tablet or a phone.
Cropping sounds simple until you have to do it quickly: the avatar needs to be square, the thumbnail needs 16:9, the scan came out sideways. The cropper covered here handles those jobs in one place, and it does the work on your machine rather than on someone else's server.
Image Cropper
Drag the frame, lock a ratio such as 1:1 or 16:9, rotate a sideways photo, then download the crop at full resolution. Nothing leaves your device.
Crop to a shape, or lock a ratio
There are two ways to set the frame. Free, which is the default, lets you drag the crop box into any shape you like, and that is what you want when the right crop is defined by the subject rather than by a grid. The five presets lock the frame to a fixed ratio instead, so the shape holds while you move and resize it.
| Ratio | Frame shape | Where it is usually needed |
|---|---|---|
| 1:1 | Square | Profile pictures, marketplace listings, app icons |
| 4:3 | Slightly wide | Camera prints, document scans, presentation slides |
| 3:2 | Wide | Photos straight from a DSLR or phone camera, 6 by 4 inch prints |
| 16:9 | Widescreen | Video thumbnails, slide backgrounds, channel banners |
| 9:16 | Tall | Phone stories, reels, full screen phone wallpaper |
| Free | Any shape | Cropping to the subject, product cutouts, one-off edits |
A locked ratio is not a cosmetic setting. In Free mode it is easy to end up with a square that is a few pixels off, and a platform that demands an exact ratio will letterbox the file or crop it a second time on its own. Choosing 1:1 first removes that whole class of problem, and it costs nothing in quality, because the crop still comes from your original pixels rather than from a resized copy.
The crop frame cannot leave the image, which is what prevents the empty border you get from a naive crop tool. The frame also keeps its shape and position when you switch to the next photo in a batch, which is what makes bulk cropping practical.
How to crop an image online
- Add your image. Drop a photo on the page or click to browse. JPG, PNG, WebP and AVIF files open, and you can add several at once if you plan to crop them with the same frame.
- Choose the shape. Leave the control on Free to drag the frame by hand, or pick 1:1, 4:3, 3:2, 16:9 or 9:16 to lock the ratio. The frame keeps that shape while you resize it.
- Drag the frame over the part you want. Move the box, then pull a handle to resize it. The crop size in pixels is shown next to the frame as you work, so you can see what you are about to export.
- Straighten the photo if it is sideways. Rotate in 90 degree steps or flip the image, and the frame follows the corrected orientation.
- Pick a format, and a width if you need one. PNG is the default and stays lossless. JPEG and WebP reveal a quality slider set to 92 percent. An optional output width downscales the crop, for example 1080 for a social post.
- Download the crop. Save the current photo, or use Download all to export the whole batch, each image written at its own resolution.
Every step before the download is reversible. Resetting the frame, switching ratios and rotating back all cost nothing, and no file is written until you press a download button. That makes it worth experimenting with two or three frames before you settle on one.
Rotate and flip before you crop
Rotation and flips are applied before the crop, so the frame follows the straightened image rather than the original orientation. In practice that means you fix the orientation first and then decide what to cut.
Two buttons rotate the photo 90 degrees left or right, and two more flip it horizontally or vertically. That covers the everyday cases: a phone photo saved with the wrong orientation, a scan that came through as a mirror image, or a screenshot taken sideways. After a 90 degree turn the photo is wider than it is tall, or the other way round, and the ratio presets read against the straightened result, so a 16:9 frame on a rotated image behaves the way you would expect for the new orientation.
Why the order matters
Crop first and rotate second, and you would be cutting the frame against an orientation you cannot see yet, which produces a correctly turned image containing the wrong area. Rotating first is the only order in which the frame means what it looks like on screen. Flipping is rarer but just as immediate, and the crop frame is unaffected because it stays where you put it.
Cropping several photos with the same frame
A batch is the feature that saves the most time, and also the one that is easiest to misuse. Add up to 30 photos, set the ratio and place the frame once, then use Download all. Every image is cropped with the same relative frame: the same proportion of its width and height, not the same pixel coordinates. Each photo is then exported at its own resolution, so a 6000 pixel shot and a 1200 pixel shot both keep their own detail.
When a shared frame works well
A shared frame suits anything shot with the same setup: product photos taken on one table, a set of scanned pages of the same size, screenshots captured from one monitor. In those cases the composition is consistent, so one frame produces a consistent result across the whole set.
When it is the wrong tool
It fails when the subject moves around inside the frame. A group of photos where the face is sometimes top left and sometimes bottom right will be cropped correctly for the first image and badly for the rest, because the frame is a proportion rather than a recognition of what is in the picture. For a mixed set, open each photo on its own, adjust the frame, and download it separately.
What this cropper cannot do
These are the boundaries worth knowing before you start, because each one has a different tool behind it.
- It crops, it does not enlarge. The exported crop is taken from the original pixels, so it is never bigger than the matching area of your source file. An output width is a downscale, not a way to invent detail, so a small crop typed to a larger number comes back soft rather than sharper. Growing an image is the job of the AI Image Upscaler.
- Rotation is 90 degrees at a time. There are 90 degree left and right buttons plus horizontal and vertical flips, and no fine angle or straighten slider. A horizon that is 3 degrees off cannot be levelled here, so a photo that needs a small tilt correction should go through a tool that supports arbitrary angles.
- A batch uses one frame for every photo. You cannot set a different crop box or a different ratio per image inside a single batch. The ratio and the relative frame are global, and each image is exported with that same frame.
- The batch holds up to 30 photos at a time. That is the working limit on one run. For a larger set, crop it in groups of 30 or fewer, using the same frame settings each time.
- Cropping is destructive to the export. The downloaded file does not contain the area you cut away, so keep your original. The tool never alters the source file on your disk, and nothing is stored after the tab is closed.
- PNG output ignores the quality slider. The slider only appears for JPEG and WebP, because PNG is written lossless and there is no compression level to choose. If you want a smaller file, pick JPEG or WebP and move the slider, or resize with the output width field.
- Large photos depend on your own device. Because the work happens locally, a very large image uses your machine's memory and takes a moment to export. The ceiling is your own hardware rather than a server farm.
Why crop in the browser instead of uploading
The obvious alternative is a crop site: send the photo to a server, get the cut version back. That works, and it is a reasonable choice for an image you do not mind handing over. It is a poor fit for the files people crop most often, which tend to be a private document, a screenshot of an internal dashboard, a family photo or an unpublished product shot.
| Aihangsoft | Upload based cropper | |
|---|---|---|
| Where the photo goes | Stays in the browser tab on your device | Sent to their servers |
| Limits | No size cap beyond your device memory, up to 30 photos per batch | Often capped by size or count, sometimes watermarked |
| Frame control | Free frame plus five locked ratios | Usually a slider or a few presets |
| Rotation and flip | 90 degree steps in both directions, horizontal and vertical flips | Varies, sometimes missing entirely |
| Output | PNG, JPEG or WebP, with an optional output width | Often a fixed format, sometimes forced |
| Account | Not needed | Sometimes required for larger files |
The trade-off is speed: the work runs on your device, so a very large photo takes as long as your machine needs. For the everyday jobs this article is about, avatars, thumbnails, product shots and scans, that is the right way round, because the privacy is real and the quality never drops below the source pixels.
Crop a photo now
Free, private and unlimited. Add a photo, set the frame, and download the crop at full resolution, with no account and no upload.